Suite Exchange Sponsored by ResNexus

How Taking the Right Photo can Increase Your Occupancy


These fundamental tips will help you get the right picture of your property.

How Taking the Right Photo can Increase Your Occupancy


These fundamental tips will help you get the right picture of your property.
By Nathan Gawlik
Nathan Gawlik's experience includes being a General Manager of a Hampton Inn and other front line roles such as a Banquet Captain, Front Desk Agent, Housekeeper, Catering Event Manager, and Director of Sales.

Photos, photos, photos. Why are photos important? Because people make a buying decision based on the look and feel of the product you offer. Whether your office boat slip rentals or luxury accommodations, providing a phone allows for guests to picture themself in the environment you have provided the backdrop for.

The description is important but it's more of a nice to have, rather than a must-have. Photos are a must-have item on your website.

These photos should tell a story about your property. The better the guest knows that story the more likely they are to feel confident about their purchase. This confidence also helps to avoid additional manual labor with follow up phone calls to your property among other things.

photography

Staging

To take the best photos, you should stage the scene you will be capturing. Carefully select which angles, viewpoints, and rooms you will showcase in your story.

These pictures might be the first impression your guests have of your property. Typically the first picture you will want to showcase for the guest room is making the bed front and center. Consider the following to make the room photo-ready:

  • Is the room clean and free of excess clutter
  • Do you have wrinkle-free bedding
  • Fluff up the pillows and smooth out the bedding


Only have items and amenities that are going to add to the photo. Consider removing trash cans, wires, remotes, and other distractions. Many properties will have their policies or brochures for area attractions lying on the bed or sitting on the desk. These are great things to have for the guest's arrival but they only distract from the photo. Put these items aside for now.

This advice is specific to a wide room overview shots. This shot will be your focal point. Other pictures of the guest rooms might include amenities on the bed, like a close up on flowers or chocolate-covered strawberries. These are great supporting images but they should not be your first featured image.

photography

Blinds

Select Registry provides an option for prospective guests to buy gift certificates to stay at one of their nearly 300 properties across the United States.

This past year, Select Registry distributed nearly 350 thousand dollars worth of gift certificates to their properties.

"This is done without a commission," Mark stated. Meaning, "we redeem the entire purchase value to our properties without taking an administrative fee."

This is a great way to support small businesses and Mark mentioned these make great stocking stuffers for the upcoming holiday season. It's a great way to stay safe while traveling for the holidays.

View Select Registry's map to see if there are properties near you.

Lighting

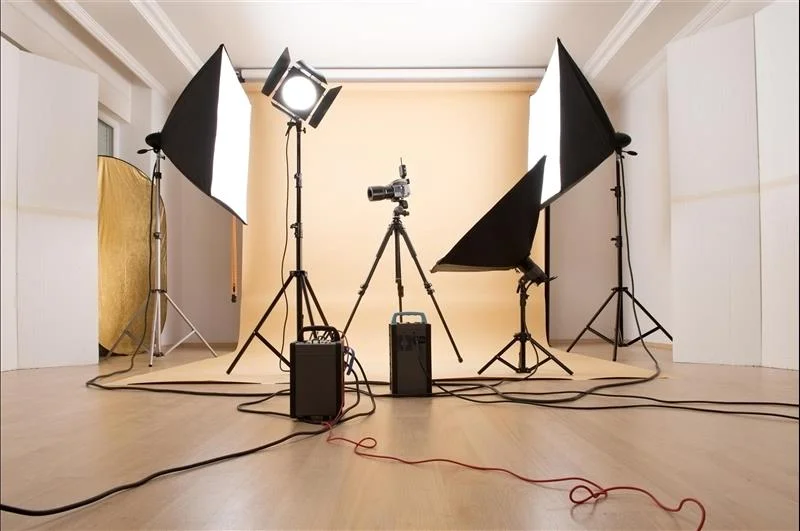
Take a look at all the light bulbs before taking photos. Inspect them to make sure they are all the same temperature light. Some light bulbs give off a warm temperature light while others give off a cooler tone. These subtle but noticeable differences will show up in your shots.
photo shoot

Exterior Shots

When taking photos outside, again make sure it's a blue sky day but also avoid the middle of the day shots. You might think that this is the best time of the day with the most light. Well, the most light doesn't always make for the best photos. You want the right amount of light and the right kind of light.

Taking shots mid-day will cause your photos to have harsh deep shadows in some areas and hot washed out spots in other areas. It's hard for cameras to reconcile these contrasts.

Try to take these exterior shots during the golden hour. The golden hour is a time right before the sun sets or right after the sun comes up. During this time the sky will have softer light. Be sure to give yourself plenty of time to stage and plan out your shots so you can optimize this short window of premium lighting.

Interior Shots

When it comes to interior shots, these should be taken during the middle of the day for the same reasons you don't want to take exterior shots during the middle of the day. At mid-day, the sun is highest in the sky so you won't have any glare coming through the windows or deep shadows among the items in the room.

Whatever you do, don't take these interior shots at night. If you do, you may need to adjust the settings on your camera to allow for more light to be let in. While this is a good tactic, it can lead to the pictures appearing more grainy and pixilated. 

photography

Camera Tips - Using a Smartphone

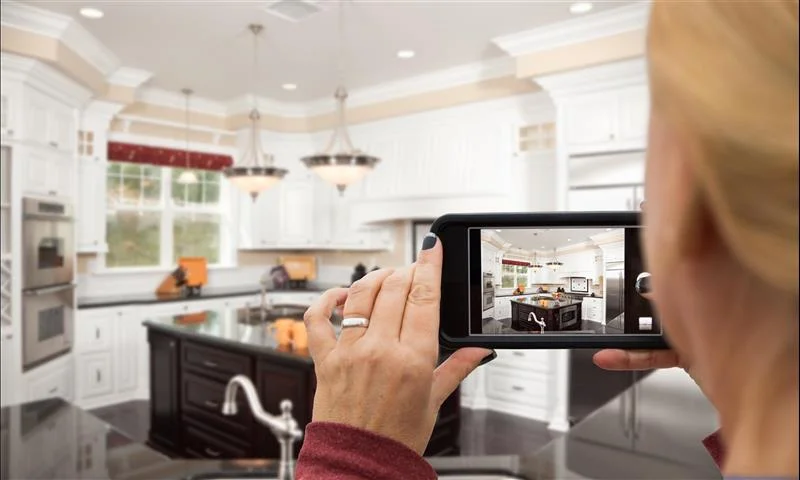
Smart phones and their cameras have come a long way. Most of the time these will do the trick to get what you want. The benefit of using them is the ability to edit the photos straight from your device with apps like PicsArt, Photoshop, and Airbrush. There are a few things you want to keep in mind when taking photos with a smartphone.

1. Avoid the flash
If the flash is used, the photo will likely have a vignette feel. This means the light hits the center of your image but the sides appear darker. The uneven distribution of light doesn't showcase the room the best.

2. Don't use Optical Zoom
This too can cause your pictures to come out blurry or pixilated. If you need to zoom in, just walk up to the item you need to focus on.

3. Orientation
Take all the room photos horizontally. This wider image is always easier to work with in post

4. Highest MP
Most smartphones have settings that will allow you to change the megapixels for shots. A lot of the smartphones will go up to 12 megapixels while the high dollar cameras will typically only go up to 18 megapixels. There isn't a large difference between the two.

5. Smart HDR
While in your camera settings, turn on smart HDR. This means your camera will take multiple pictures and merge them for the best possible lighting.

Ultimately the best course of action is to just go out and get some practice. Take lots of pictures and select the best one.

DSLR Cameras Tips

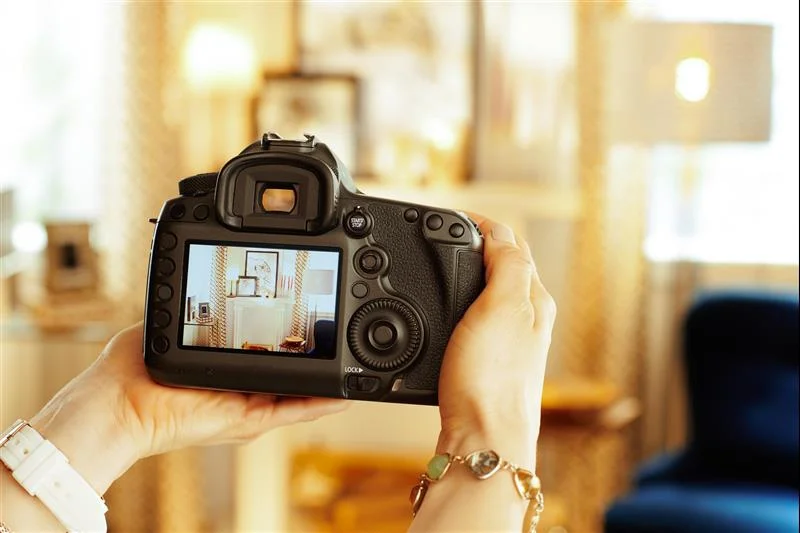
DSLR is an acronym for Digital Single-Lens Reflex Cameras. These are the Canon, Nikon, Sony, and many other professional cameras that are on the market. When using these cameras there are a few things to keep in mind:
DSLR Camera
1. RAW - Shoot in RAW format because the photos are larger and easier to edit. That being said, the file size will be larger. Before you get started make sure you have enough memory.

2. This leads us to our second point. Have a backup memory card and batteries. There is nothing more frustrating than lining up to take that perfect shot when your camera dies or runs out of storage.

3. Height - The typical height of the photo looks best if it is taken between the chest and eye level. Whichever height that is selected, do your best to keep it consistent for panoramic or horizontal photos throughout the series.

4. Tripod - To help with this, consider investing in a tripod. I find it helpful to set the height and do all my horizontal photos first, moving between different angles. If you have a tripod that is always better to avoid blur as well. It's important to keep the camera steady when taking photos with different apertures and exposes. The only way to do this is with a tripod or to set it on a level surface. You can get a little tripod for your cell phone to help keep it steady as well.

5. Wide Lens - Use a 16 - 35 mm lens. If you go any smaller, you will start to get a fish-eye look that isn't appealing for horizontal room pictures.

6. f-stop - The smaller the number on your f-stop the more light that is coming in. Typically f8 - f22 will be best. Considering the below image to get an idea of these different apertures and camera features. 

Shots to Get

In this section, we will review briefly the right and wrong shots to have.

1. Exterior Shots - Get exterior shots that help market your place. If these shots are on your website it also helps to give arriving guests confidence in knowing they are at the right place. But it also helps them visualize themselves enjoying your property. Especially, if you have a pond, garden, or outside seating for example.

2. Accommodations - Of course, provide pictures for the guests of where they are going to be staying. I would suggest getting two horizontal shots from different directions. Try to get three walls for visual interest. If you would like to include a close-up shot for contrast that is also a great idea but it shouldn't be your showcase or featured image. It should be third or fourth in line with your different photos. Some properties will take a photo of them pushing on the plush mattress, others will feature an additional amenity in the room, just to name a couple of examples.

3. Amenities - what stands out or makes your property unique? Be sure to include some photos of these items you are proud of.

4. Common areas - Fireplaces, pool or hot tub, lounge area. Don't spend too much time taking photos of items that can just be added to a list. For example, the TV or a coffee maker can just be listed.

Shots to Avoid

1. You don't necessarily need pictures of bathrooms unless it has a jacuzzi tub or something you want to showcase. Unless it is appealing to your guest and features something special don't include pictures of bathrooms. Just list that there is a private bathroom if offered.

2. Don't use shots with models because guests want to visualize themselves at your place, not someone else. These models can distract from their buying experience. Likewise, as viewers our eyes tend to be drawn to the person in the photo. If there is a model in the photo it takes the focal point way from your accommodations. Always consider what you wish to showcase and be sure that is front and center; void from any distractions. 

Food Shots

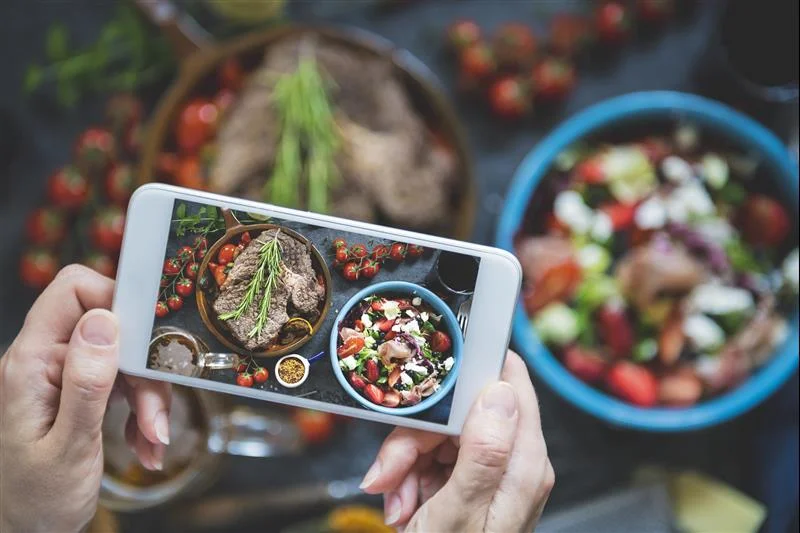
Many properties feature delicious images of their home cooking. These savory pictures are great marketing for your property. Consider the following:

If the lighting is back-lit or side-lit it will give the food more texture.
Be sure not to create a shadow with your camera.

Finally, select an angle that doesn't distract from your food. If you see too much in the background it gets too busy. This goes with the less is more concept. Don't have too many props distracting from the focal point. Coffee cups, forks, etc. can create too much background noise.

girl reading on her phone
MARKETING
various digital icons
OPERATIONS
woman presenting in front of a class
CASE STUDIES
wooden chess pieces
THEORY
young woman with cell phone
MARKETING
man clicking buttons
OPERATIONS
woman speaking in front of crowd
CASE STUDIES
horse pieces chess
THEORY
sign up for our newsletter